Embark on a culinary odyssey where the rhythmic dance of the knife on the cutting board transforms slicing and carving from mere kitchen tasks into a meticulously crafted art form. This comprehensive guide delves into the intricate world of precision cutting, with a focus on the unparalleled Cutluxe Slicing Carving Knife.
Mastering the Basics:
- Essential Tools Exemplified:
- Introduce a symphony of precision into your kitchen with the transformative Cutluxe Slicing Carving Knife. Crafted with a long, slender blade, this culinary masterpiece is meticulously designed to elevate your cuts to a level of unparalleled precision and cleanliness. The ergonomic handle ensures comfort and control, making it a game-changer for achieving precise and clean cuts.
- Knife Proficiency Perfected:
- Hone your knife skills effortlessly as you wield this culinary masterpiece. The Cutluxe Slicing Carving Knife boasts an ergonomic design that fits comfortably in your hand, allowing for extended use without fatigue. The razor-sharp edge ensures that every slice is a work of precision, making honing basic knife skills a breeze.
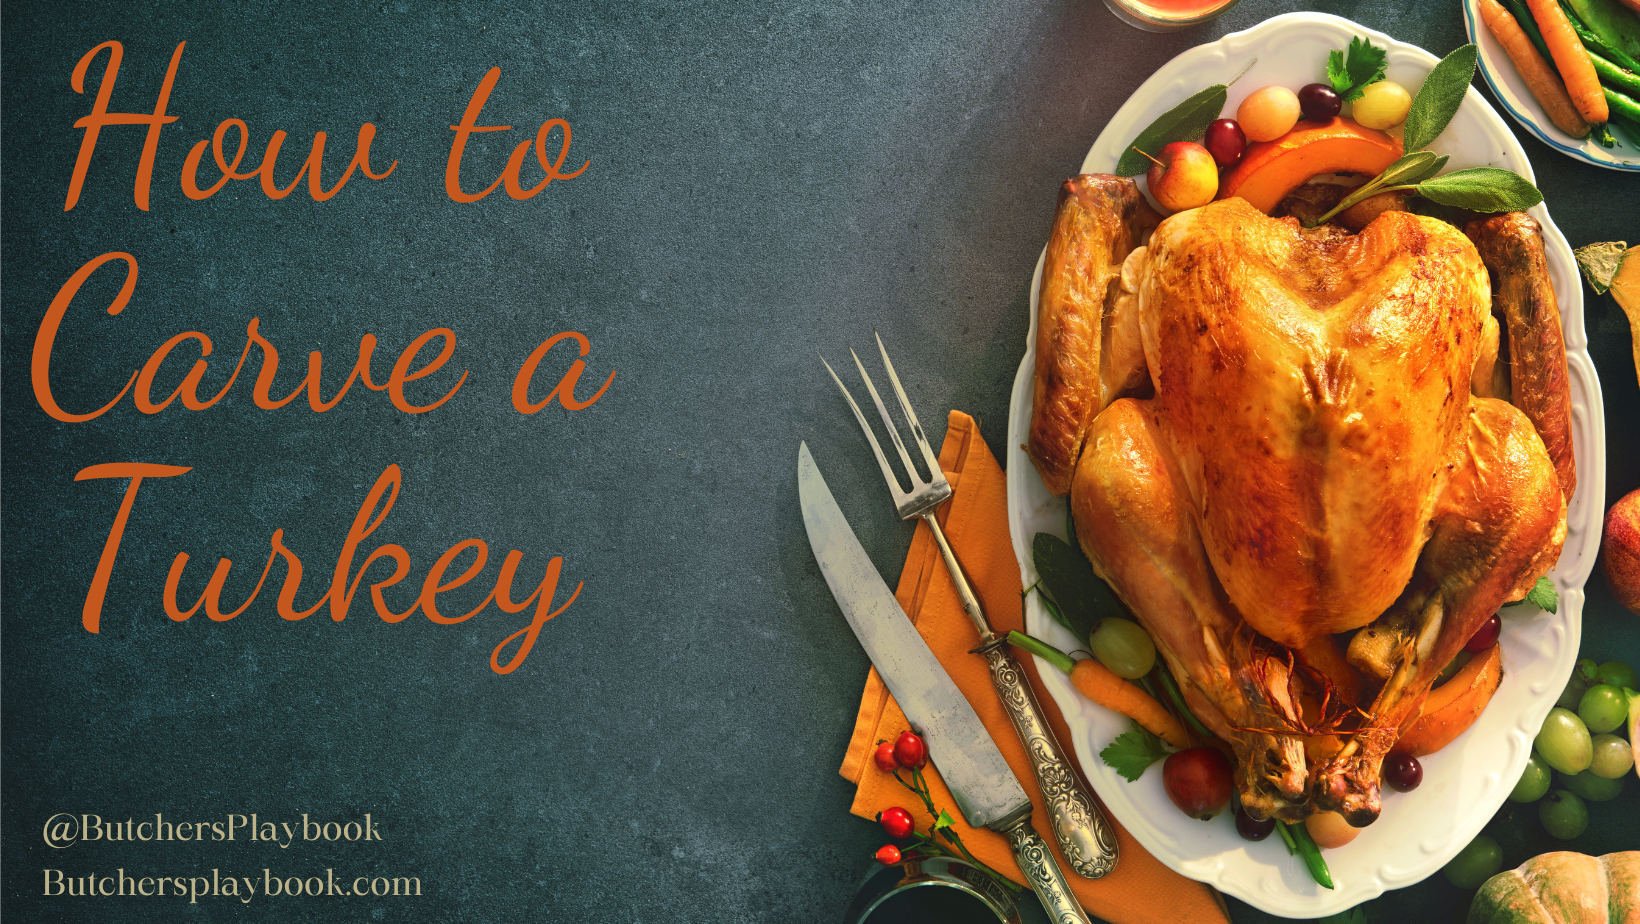
Precision in Poultry:
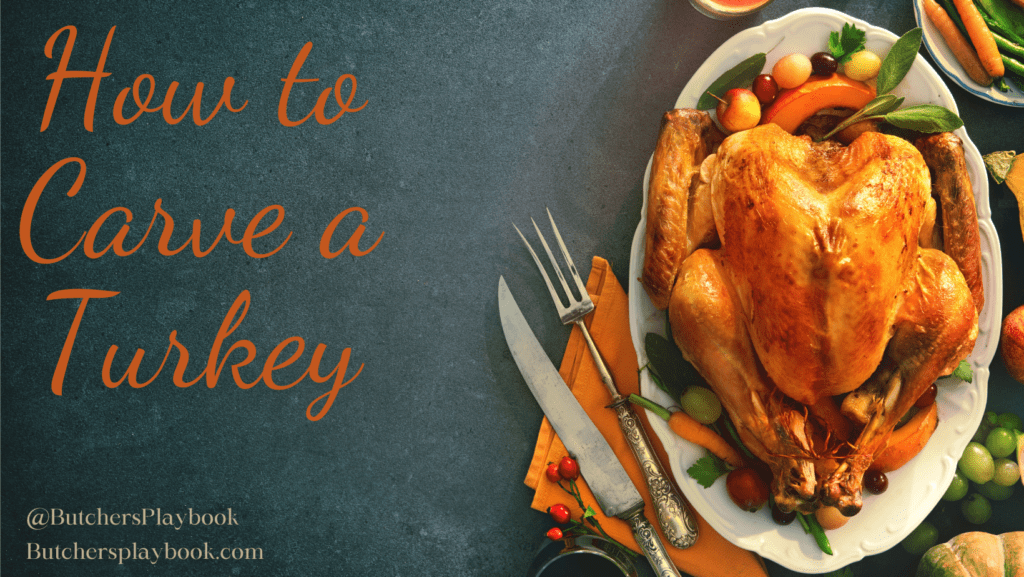
The Perfect Thanksgiving Turkey Carving Guide
Thanksgiving is synonymous with a beautifully carved turkey, and mastering the art of carving is key to presenting a stunning centerpiece for your festive feast. Follow this step-by-step guide to ensure your Thanksgiving turkey is not only cooked to perfection but also expertly carved for serving.
What You’ll Need:
- Roasted Turkey: Allow the turkey to rest for about 20 minutes after taking it out of the oven.
- Carving Set: Cutluxe SlicingCarving Knife and a sturdy carving fork.
Step 1: Gather Your Tools
Prepare a clean and spacious carving area. Make sure your carving set is within reach.
Step 2: Position the Turkey
Place the rested turkey on a stable cutting board or carving platter. Remember to use a cutting board with a groove to catch any juices.
Step 3: Remove the Legs
Hold the turkey steady with a carving fork. Begin by removing the leg quarters. Locate the joint connecting the thigh and drumstick. Cut through this joint to separate the leg from the body. Repeat on the other side.
Step 4: Separate the Thighs and Drumsticks
Find the joint between the thigh and drumstick and cut through it to separate them. Repeat for the other leg.
Step 5: Carve the Breast
Make a horizontal cut above the wing, parallel to the cutting board. This creates a slice of breast meat. Continue making thin, even slices perpendicular to the initial cut. Angle the knife slightly to follow the shape of the breastbone.
Step 6: Wing Removal
If desired, locate the joint connecting the wing to the breast and remove the wings. You can do this before or after carving the breast.
Step 7: Slice the Thigh Meat
Hold the drumstick and carve thin slices of meat off the thigh. Repeat on the other side.
Step 8: Arrange and Serve
Transfer the carved turkey pieces to a serving platter, arranging them in an appealing manner. Serve immediately while the meat is still warm.
Pro Tips:
- Let the Turkey Rest: Allowing the turkey to rest after roasting ensures the juices redistribute, resulting in juicier meat.
- Sharp Knife: Use a sharp Cutluxe Slicing Carving Knife for clean, precise cuts.
- Carve Against the Grain: When carving the breast, slice against the grain for a tender texture.
- Use the Right Fork: A carving fork helps stabilize the turkey and makes carving more manageable.
With this step-by-step guide, you’ll carve a Thanksgiving turkey that not only looks impressive on the table but also delivers the perfect bite for your guests. Happy carving and happy Thanksgiving!
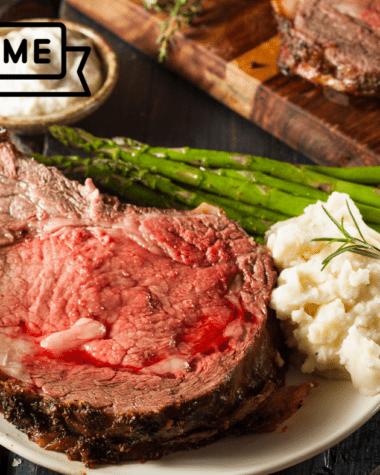
Elevating Meat Carving:
The Ultimate Guide to Slicing Smoked Brisket
Smoking a brisket is a labor of love, and slicing it properly is the crowning achievement of your barbecue skills. Follow this comprehensive guide to master the art of slicing smoked brisket for a delicious and visually appealing experience.
What You’ll Need:
- Smoked Brisket: Allow the brisket to rest for at least 30 minutes after smoking.
- Slicing Knife: A long, sharp Cutluxe Slicing Carving Knife for clean cuts.
- Cutting Board: Use a large, sturdy cutting board to catch any juices.
Step 1: Gather Your Tools
Prepare a clean and spacious slicing area. Ensure your slicing knife is honed and ready for precision.
Step 2: Position the Brisket
Place the rested brisket on a cutting board with the fat side facing up. This provides stability and flavor to each slice.
Step 3: Trim Excess Fat
If necessary, trim any excess fat from the surface of the brisket. Leave a thin layer for flavor and moisture.
Step 4: Identify the Grain
Before slicing, identify the direction of the grain in the meat. The grain typically runs parallel to the long side of the brisket.
Step 5: Slice Against the Grain
Using your slicing knife, make perpendicular cuts against the grain. This technique ensures each slice is tender and easy to chew.
Step 6: Start with the Flat
Begin slicing from the flat part of the brisket. Make thin, uniform slices about ¼ inch thick. Continue across the entire flat.
Step 7: Transition to the Point
Once the flat is sliced, move to the point (thicker, fattier section). Again, make consistent slices against the grain.
Step 8: Serve and Enjoy
Transfer the sliced brisket to a serving platter or individual plates. Serve promptly to retain the smoky goodness and juiciness.
Pro Tips:
- Sharp Knife: A sharp slicing knife like the Cutluxe Slicing Carving Knife is crucial for achieving clean, even slices.
- Consistent Thickness: Aim for uniform slice thickness to ensure a consistent eating experience.
- Let It Rest: Allowing the brisket to rest post-smoking ensures optimal juiciness and flavor.
- Practice Makes Perfect: Don’t be discouraged if your first slices aren’t perfect. With practice, you’ll refine your technique.
With these steps, you’ll be slicing smoked brisket like a barbecue pro. Whether it’s a backyard gathering or a special occasion, your perfectly sliced brisket will be a hit with family and friends. Happy slicing and happy smoking!
Effortless Veggie Slicing:
Mastering Vegetable Slicing and Dicing: A Chef’s Guide
Elevate your culinary skills by learning the art of slicing and dicing vegetables like a professional chef. Follow these expert steps to create perfectly cut vegetables for your next culinary masterpiece.
What You’ll Need:
- Chef’s Knife: Invest in a high-quality chef’s knife like the Cutluxe Chef Knife for precision and control.
- Cutting Board: Choose a spacious, stable cutting board to provide ample workspace.
- Fresh Vegetables: Select a variety of fresh vegetables for practice and use in your recipes.
Step 1: Knife Grip and Safety
Hold the Cutluxe Chef Knife with a firm grip, placing your hand on the handle and your fingers tucked under the blade. Keep your non-cutting hand in a claw-like position, using your knuckles as a guide. This grip ensures safety and control.
Step 2: Choose the Right Cut
Understand the different cuts: slicing for thin, even pieces, dicing for cubes, and julienne for thin strips. Tailor your cuts to the specific requirements of your recipe.
Step 3: Prepare the Vegetables
Wash and peel vegetables as needed. For round vegetables like onions, cut a small portion from one side to create a flat surface for stability.
Step 4: Master Slicing Techniques
a. Slicing
- For round vegetables, create thin, even slices by rocking the knife back and forth with a gentle sawing motion.
- For long vegetables like carrots, use a smooth, continuous motion to create uniform slices.
b. Dicing
- Start with sliced vegetables.
- Stack slices and make lengthwise cuts to create matchsticks.
- Rotate the matchsticks and make perpendicular cuts to achieve even dice.
c. Julienne
- Cut round vegetables into thin, even slices.
- Stack the slices and cut them into matchsticks.
Step 5: Rock and Chop
For herbs and leafy greens, gather them into a tight bundle. Hold the bundle with your non-cutting hand and, using a rocking motion, chop finely with the chef’s knife.
Step 6: Practice Precision
Focus on precision and consistency in your cuts. Uniformly cut vegetables ensure even cooking and an aesthetically pleasing presentation.
Step 7: Cleanup and Maintenance
Regularly sharpen your chef’s knife for optimal performance. Clean your knife and cutting board promptly after use.
Pro Tips:
- Knife Skills: Practice proper knife skills for speed and accuracy.
- Efficient Workspace: Keep your cutting board clutter-free for efficient chopping.
- Use the Right Knife: Different knives are suited for various vegetables. Learn which knife is best for each type. Here is the perfect starter set Cutluxe Artisan Series.
With these steps, you’ll be slicing and dicing vegetables with the finesse of a chef. Impress yourself and others with perfectly cut vegetables that elevate the visual and culinary appeal of your dishes. Happy chopping!
Advanced Techniques, Enhanced Precision:
- Butterflying Simplified:
- Elevate your culinary repertoire by simplifying the art of butterflying meats with precision. The Cutluxe Slicing Carving Knife’s sharpness allows for intricate cuts and detailing, making butterflying a straightforward process.
- Effortless Roll Cuts:
- Create perfect rounds from cylindrical vegetables with ease, ensuring uniformity in every cut. The consistency offered by Cutluxe allows you to achieve professional-looking dishes with precision and ease.
Ensured Safety Tips:
- Secure Cutting Surface Safeguarded:
- Prioritize stability during slicing with the non-slip grip of the Cutluxe Slicing Carving Knife. The secure foundation provided enhances safety in the kitchen, preventing accidents and promoting a confident cutting experience.
- Proper Hand Placement Guided:
- Embrace kitchen safety with the ergonomic design of the Cutluxe knife, encouraging proper hand placement. The well-designed handle ensures a comfortable and secure grip, safeguarding your fingers with every slice.
Presentation Excellence:
- Symmetry Achieved:
- Strive for visual perfection as you achieve uniform slices with the Cutluxe Slicing Carving Knife. The precision of this knife enhances the visual appeal of your dishes, making them not only delicious but also visually stunning.
- Garnishing, Finesse Unleashed:
- Add the finishing touches with ease, thanks to the control and precision of the Cutluxe Slicing Carving Knife. Whether you’re garnishing a dish with herbs or creating decorative vegetable accents, the Cutluxe knife ensures finesse in every detail.
In Conclusion:
Culinary Mastery Unveiled: Perfecting the Art of Slicing and Carving
As we conclude this culinary journey, the rhythmic symphony of the knife on the cutting board reveals the transformation of slicing and carving into an art form. The spotlight shines on the Cutluxe Slicing Carving Knife, a culinary masterpiece designed to elevate your cutting experience.
From mastering the basics with essential tools exemplified, honing knife proficiency with the Cutluxe Slicing Carving Knife, to achieving precision in poultry with the Perfect Thanksgiving Turkey Carving Guide, this guide has explored the depths of culinary precision.
Delving into the world of barbecue, the guide then unfolded the secrets of elevating meat carving with The Ultimate Guide to Slicing Smoked Brisket. Now, we’ve concluded with Effortless Veggie Slicing, unraveling the secrets of creating perfectly cut vegetables like a seasoned chef.
For those seeking to expand their culinary repertoire, advanced techniques were explored—butterflying simplified, effortless roll cuts, and ensured safety tips for a secure cutting surface and proper hand placement. The journey reached its pinnacle with presentation excellence, ensuring symmetry and finesse in every culinary creation.
As you embark on your culinary adventures armed with newfound knowledge and the Cutluxe Slicing Carving Knife, may your kitchen be a canvas for creativity, precision, and the joy of culinary mastery. Here’s to the artistry of slicing and carving, where every cut tells a story and every dish is a masterpiece. Happy slicing!